- Introduction to Learn Color Correction and Cinematic Grading
- Why You Should Learn Color Correction and Cinematic Grading
- Understanding the Basics of Color
- Essential Tools for Beginners
- Step-by-Step Color Correction
- Simple Cinematic Grading Techniques
- Avoiding Common Mistakes
- Tips for Easy Learning
- Grading for Different Video Styles
- Workflow for Simple Yet Effective Results
- Conclusion
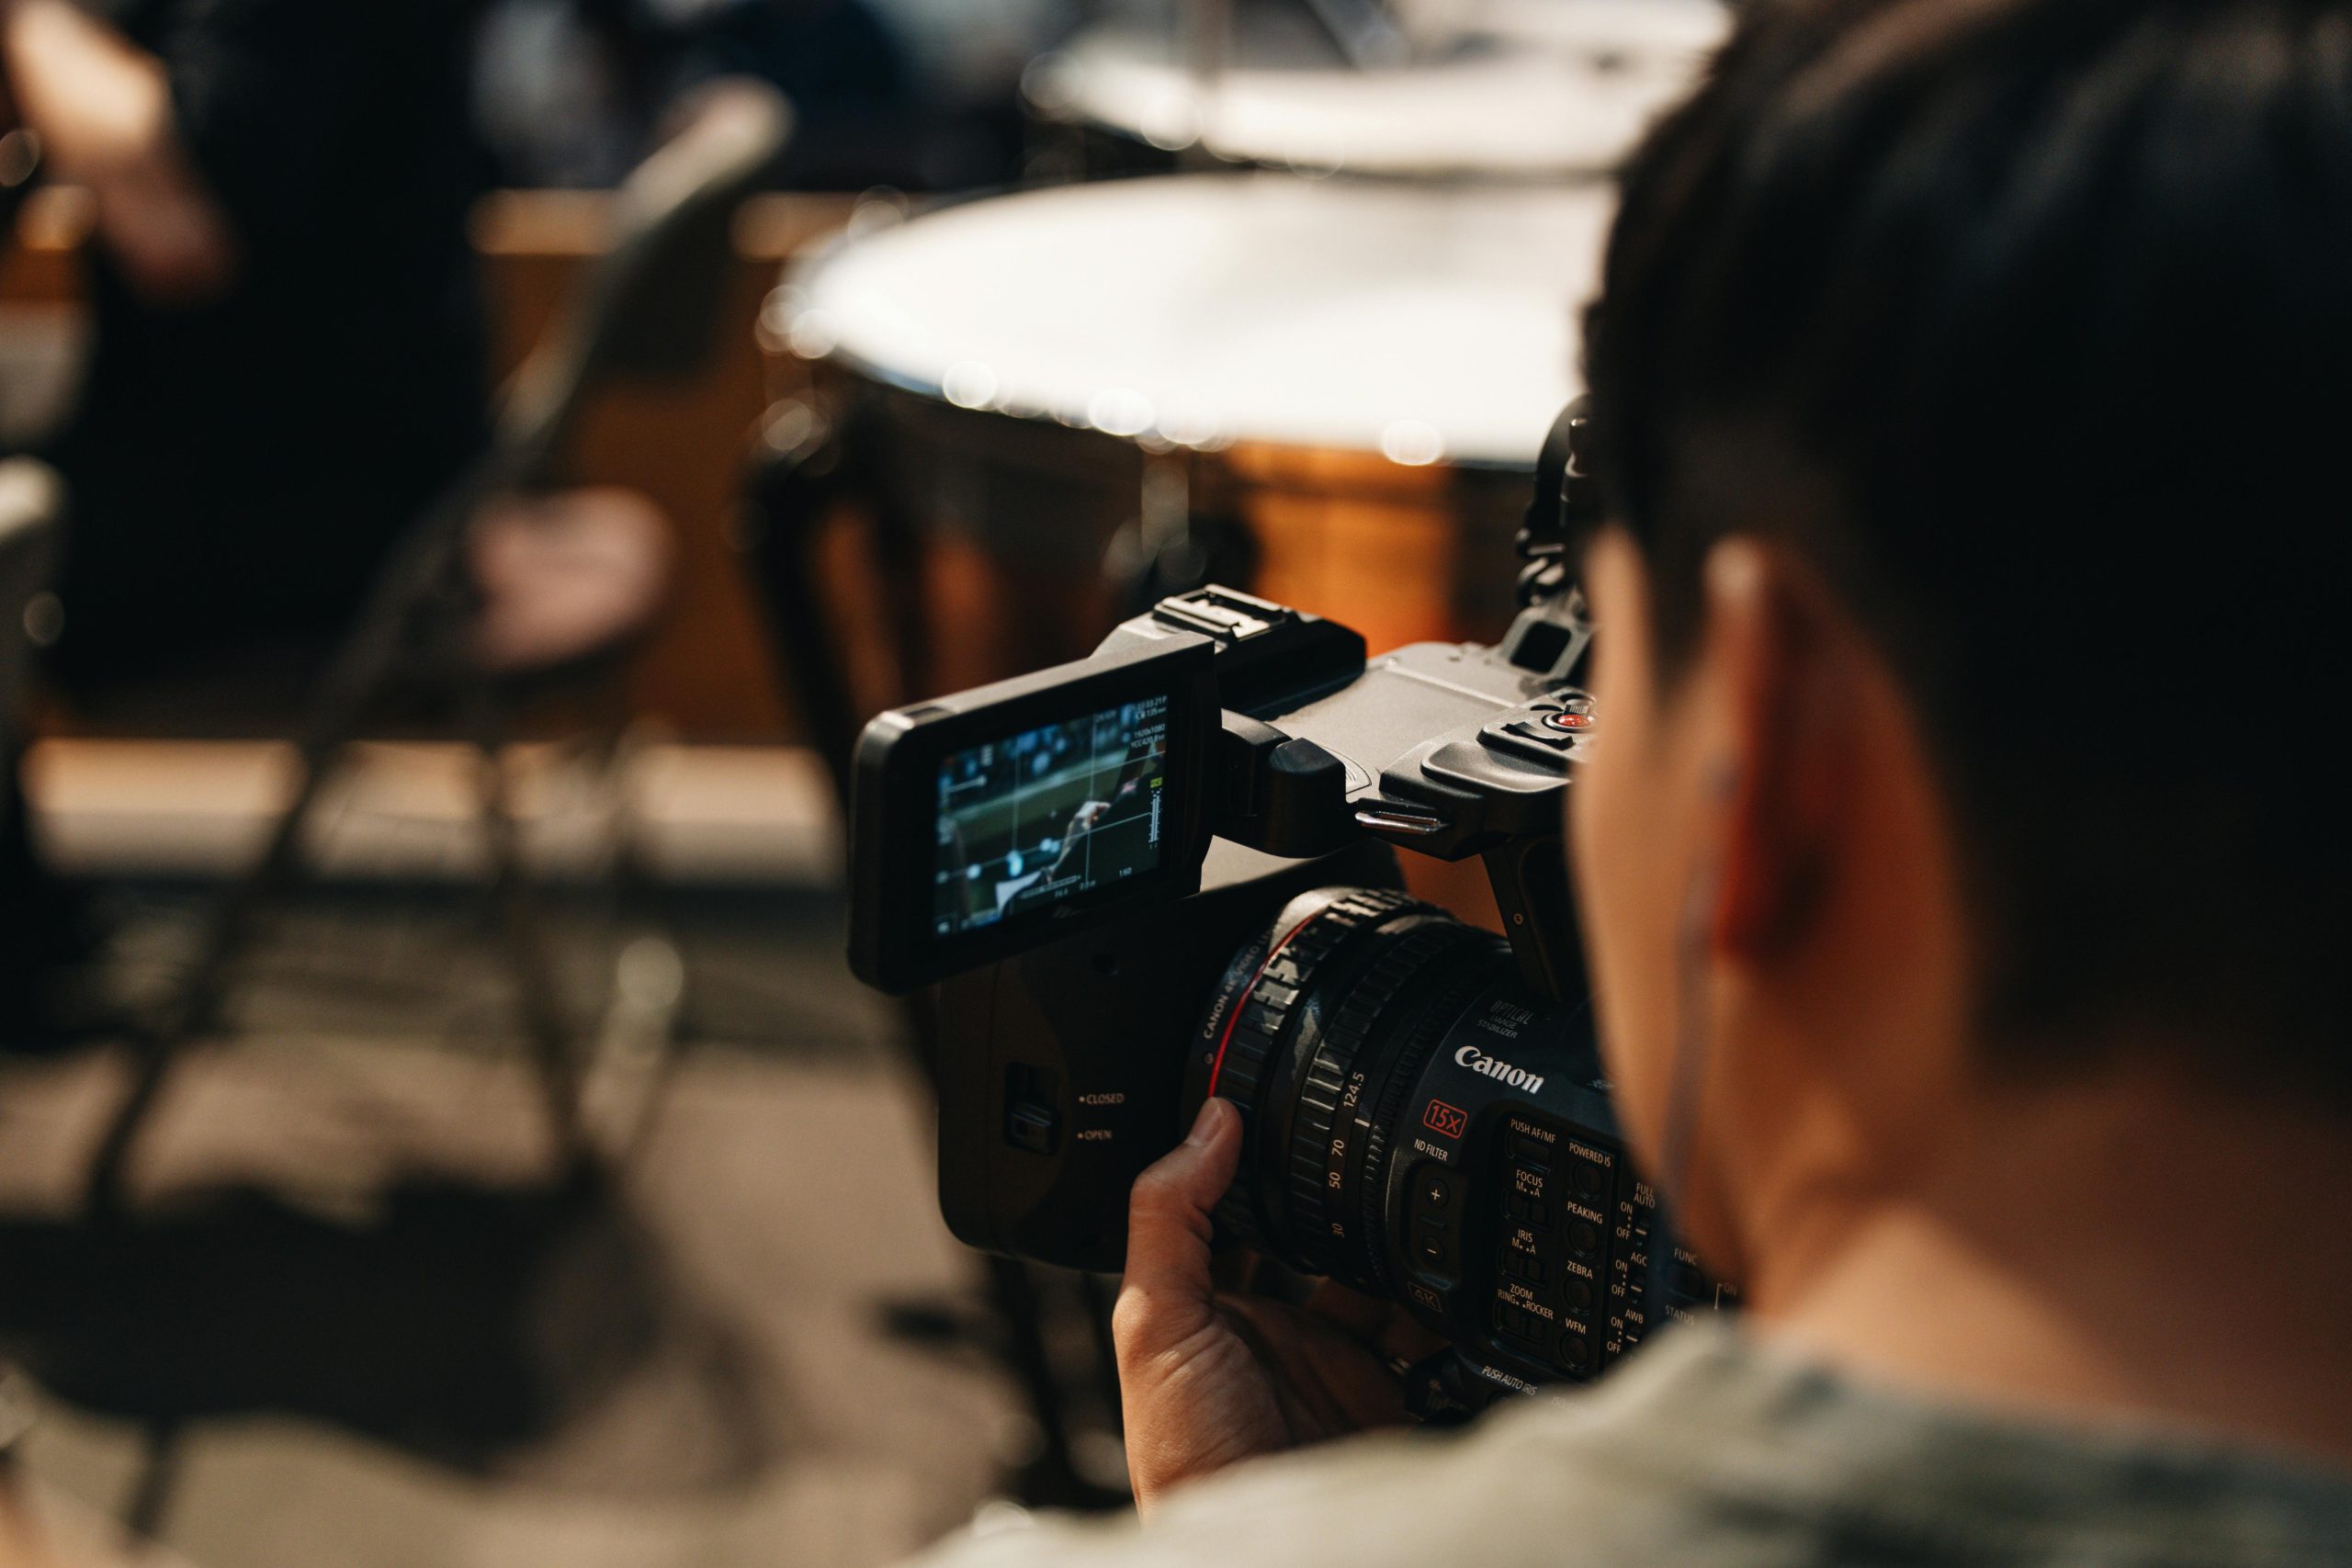
Introduction to Learn Color Correction and Cinematic Grading
Creating videos with a professional look requires more than just capturing good footage. To make your videos visually appealing, you need to Learn color correction and cinematic grading. These techniques allow you to adjust colors, tones, and moods, transforming ordinary videos into cinematic masterpieces.
In this guide, we will explore simple steps to learn color correction and cinematic grading, helping beginners and intermediate creators achieve polished results with minimal complexity.
Why You Should Learn Color Correction and Cinematic Grading
When you learn color correction and cinematic grading, you gain the ability to enhance storytelling through visuals. Properly graded videos can:
- Create a consistent and professional look
- Evoke emotions and set the mood
- Improve audience engagement
- Make videos stand out on platforms like YouTube or Instagram
Understanding how to learn color correction and cinematic grading is crucial for anyone aiming to produce content that looks professional.
Understanding the Basics of Color
Before you start, it’s essential to grasp the basics of color. This is a key step when you learn color correction and cinematic grading.
- Color Temperature: Adjust warm and cool tones to affect mood
- Saturation: Control the intensity of colors for natural or stylized looks
- Contrast: Enhance depth and dimension in your footage
- Hue: Shift colors to achieve the desired artistic effect
By applying these basic principles, you can create videos that are visually balanced and appealing.
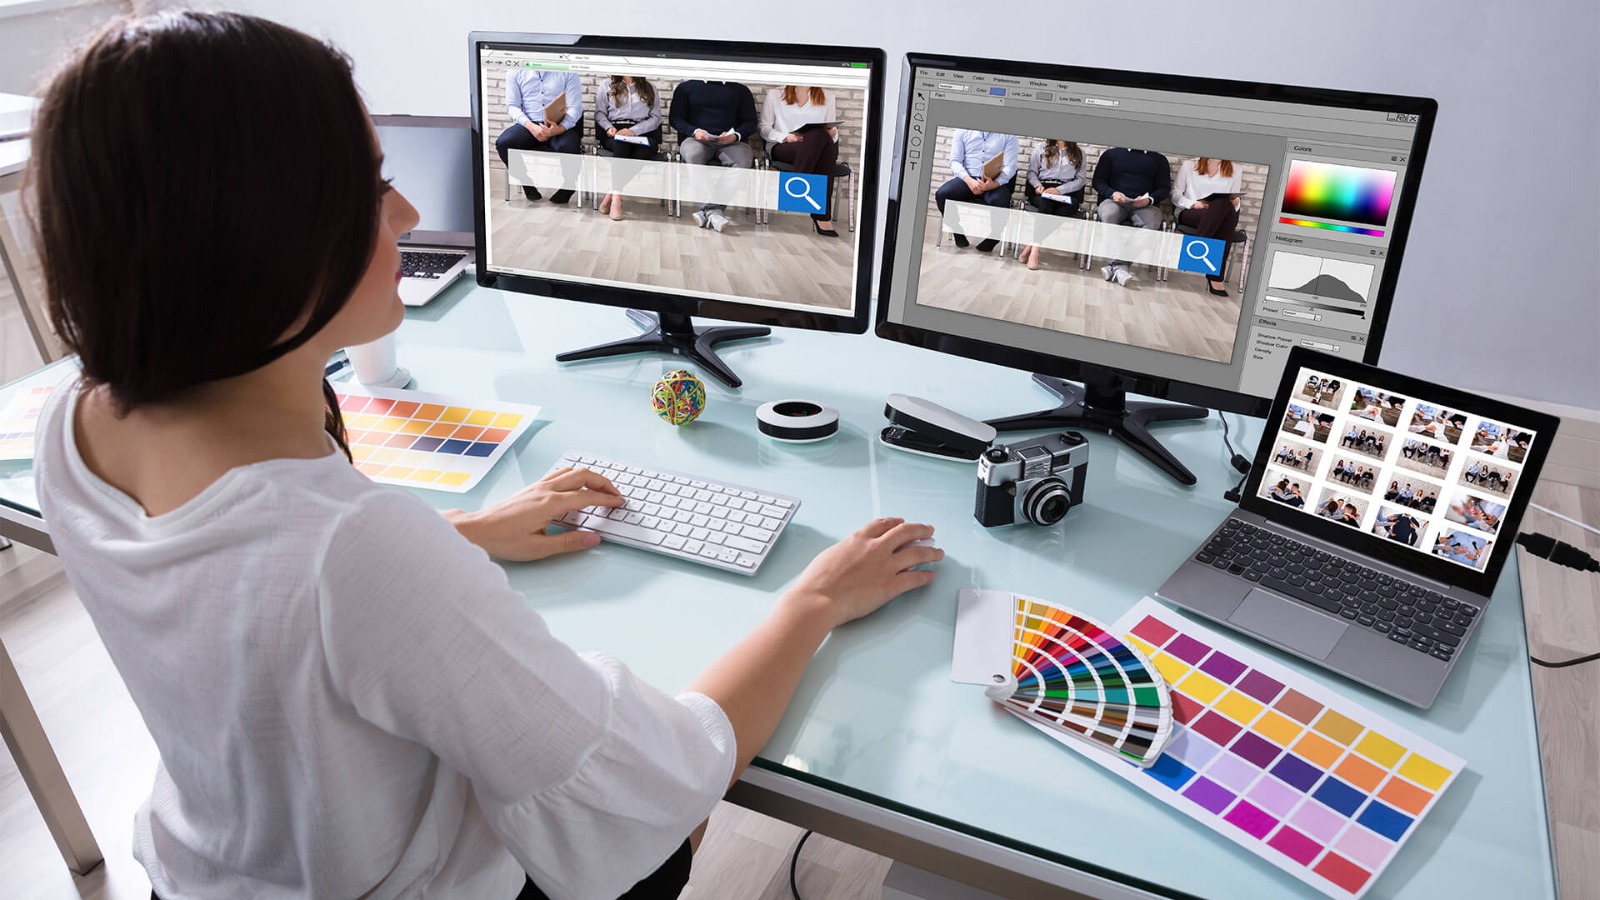
Essential Tools for Beginners
To effectively learn color correction and cinematic grading, you need access to reliable software. Popular beginner-friendly options include:
- Adobe Premiere Pro: Features Lumetri Color for easy adjustments
- DaVinci Resolve: Free and professional software for advanced grading
- Final Cut Pro: Mac-based solution with intuitive color tools
These tools allow you to adjust exposure, contrast, highlights, and shadows, providing a strong foundation for cinematic grading.
Step-by-Step Color Correction
Color correction is the first step when you learn color correction and cinematic grading. It ensures your footage looks natural and consistent.
- White Balance: Correct any color casts to make whites appear true
- Exposure Adjustment: Fix underexposed or overexposed areas
- Contrast and Shadows: Enhance depth and clarity
- Saturation Tuning: Maintain realistic color vibrancy
Following these steps makes your video ready for creative color grading.
Simple Cinematic Grading Techniques
After correcting colors, you can move on to cinematic grading. When you learn color correction and cinematic grading, you add mood, style, and emotion to your videos.
- Applying LUTs: Use Look-Up Tables for quick film-style effects
- Mood-Based Adjustments: Warm tones for happy scenes, cool tones for dramatic ones
- Color Isolation: Highlight certain colors to guide viewer focus
- Split Toning: Adjust shadows and highlights independently for style
These techniques are simple but effective in giving your videos a cinematic feel.
Avoiding Common Mistakes
Even in simple steps, beginners can make errors when they learn color correction and cinematic grading. Avoid:
- Over-saturating colors
- Ignoring skin tones
- Applying the same LUT to all footage without adjustment
- Skipping monitor calibration for accurate colors
Being mindful of these mistakes ensures your videos look professional and visually consistent.
Tips for Easy Learning
To simplify your journey when you learn color correction and cinematic grading, follow these tips:
- Practice scene by scene instead of the whole video at once
- Experiment with different LUTs and presets
- Keep your workflow organized
- Study color theory fundamentals
These tips help you develop skills faster and achieve better results with less frustration.
Grading for Different Video Styles
Different content types require different grading approaches when you learn color correction and cinematic grading:
- Action Videos: High contrast and vivid colors
- Dramas: Subtle, muted tones for emotional impact
- Documentaries: Natural colors for realism
- YouTube Videos: Eye-catching colors to grab viewers’ attention
Adapting your grading style to your project type ensures maximum visual impact.
Workflow for Simple Yet Effective Results
A streamlined workflow is key when you learn color correction and cinematic grading in simple steps:
- Organize your footage and project files
- Perform initial color correction for consistency
- Apply cinematic grading for mood and style
- Fine-tune scene-by-scene adjustments
- Export in the correct format for your target platform
Following this workflow allows you to achieve professional-looking results efficiently.
Conclusion
Learning to learn color correction and cinematic grading doesn’t have to be complicated. By understanding basic color principles, using the right tools, and following simple steps, you can transform ordinary footage into cinematic-quality videos. Practice regularly, experiment with different styles, and develop your own creative approach.